DIY Cabinet Wrapping vs Professional Installation: What Toronto Homeowners Need to Know
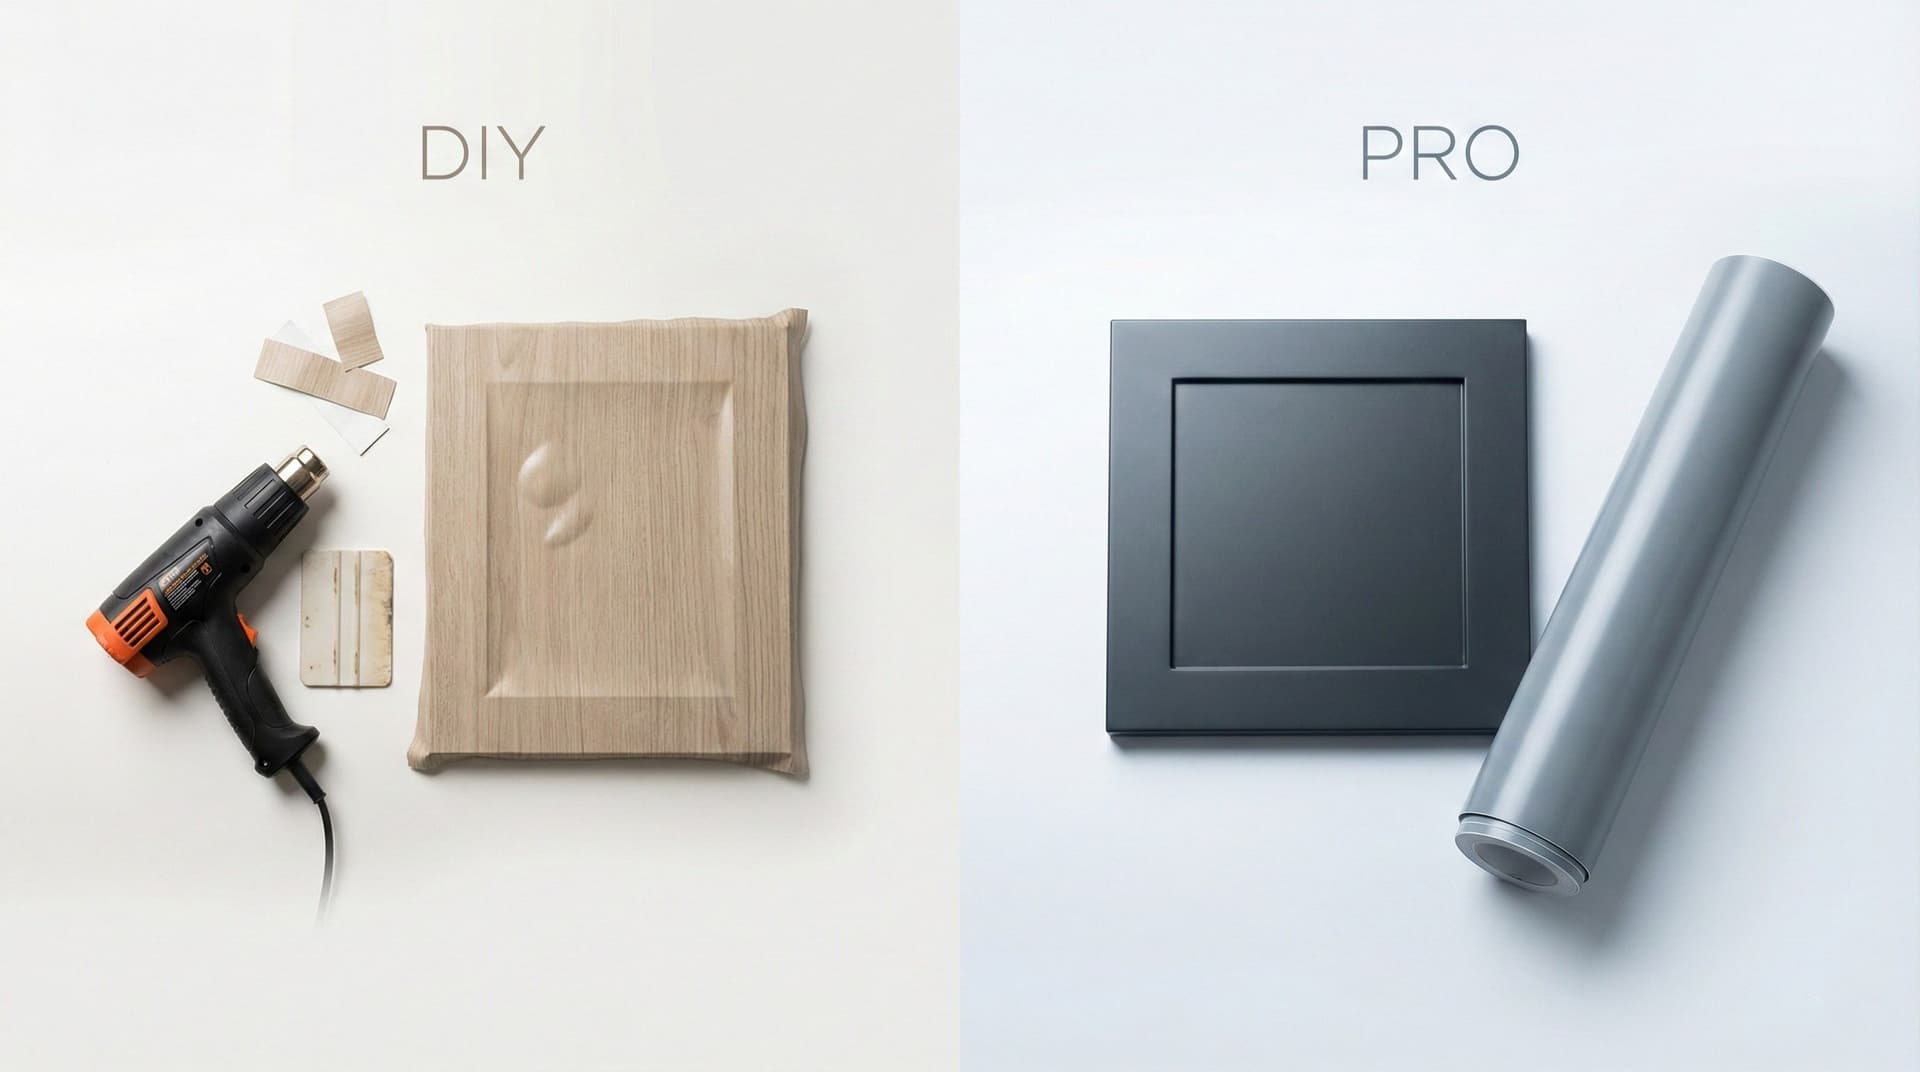
You've seen the YouTube tutorials. You've browsed Reddit threads. The vinyl wrap looks easy enough — just measure, cut, and stick. So why do professionals charge $2,000+ for something you could supposedly do yourself in a weekend?
Here's the truth: DIY cabinet wrapping can work, but most DIY attempts fail within 6-18 months. Not because homeowners aren't capable, but because success depends on factors that tutorials gloss over.
Table of Contents
- The Real Cost Comparison
- Skill Requirements: What You Actually Need
- Materials Matter More Than Technique
- Common DIY Failures (and Why They Happen)
- The Hidden Time Investment
- When DIY Makes Sense
- When to Hire a Professional
- Questions to Ask Before Hiring a Pro
- Frequently Asked Questions
The Real Cost Comparison
Let's start with actual numbers — not the optimistic figures you see in DIY tutorials.
DIY Cabinet Wrapping Costs
| Item | Cost Range |
|---|---|
| Vinyl wrap (consumer-grade) | $200 – $400 |
| Vinyl wrap (architectural-grade) | $400 – $800 |
| Squeegees, cutting tools, heat gun | $50 – $150 |
| Primer/adhesion promoter | $30 – $60 |
| Extra material (for mistakes) | $100 – $200 |
| DIY Total | $380 – $1,610 |
The problem? These costs assume you get it right the first time. Most DIYers waste 20-40% of their material on learning curve mistakes. Add that and you're looking at $500 – $2,000.
Professional Cabinet Wrapping Costs
| Service | Cost Range (Toronto) |
|---|---|
| Standard kitchen (20-25 fronts) | $2,000 – $3,500 |
| Large kitchen (30+ fronts) | $3,500 – $5,000 |
| Condo kitchen (15-18 fronts) | $1,500 – $2,500 |
See our detailed breakdown: Cabinet Wrapping Cost Guide

The Hidden DIY Costs
What tutorials don't mention:
- Time value: A 20-hour DIY project at a $40/hour opportunity cost = $800 of your time
- Redo costs: If it fails, you'll spend another $300-600 on materials to try again (or hire a pro anyway)
- Tool investments: Heat guns, precision cutters, and quality squeegees add up
- Warranty: DIY work has no warranty. Professional work typically includes 3-5 years coverage
When you factor everything in, the gap between DIY and professional installation shrinks considerably — and the professional option comes with guaranteed results.

Skill Requirements: What You Actually Need
Cabinet wrapping looks straightforward in videos. Here's what separates successful installations from failures:
Essential Skills for DIY Wrapping
1. Precision Measurement
Every cut must be exact within 1-2mm. Cabinet doors have small tolerances, and visible edges ruin the finished look. If you're not comfortable measuring to millimeter precision and cutting accordingly, DIY will frustrate you.
2. Heat Gun Control
Vinyl needs heat to conform to edges and corners. Too little heat = poor adhesion and lifting. Too much heat = stretched, discolored, or damaged film. There's a narrow window, and it varies by film type.
3. Squeegee Technique
Bubbles are the enemy. Proper squeegee technique removes air pockets while avoiding wrinkles and stretching. This takes practice — expect your first 3-4 doors to be learning experiences.
4. Edge Wrapping
The hardest part of any wrap job is the edges. Corners require precise cuts, proper heat, and the right pressure. Most DIY failures happen at edges within 6-12 months.
5. Surface Prep
Even perfect technique fails on poorly prepped surfaces. Oil, dust, or residue under the vinyl causes bubbling and lifting. Most homeowners underestimate how thorough prep needs to be.
Honest Self-Assessment
If you've successfully done detail-oriented projects like tiling, precision woodworking, or automotive work, you have transferable skills for cabinet wrapping. If your last DIY project involved "it's good enough" compromises, wrapping will magnify those tendencies.

Materials Matter More Than Technique
Here's something most DIY guides skip: the material you use determines 70% of your outcome.
Consumer-Grade Vinyl ($5-15/yard)
Available at: Home Depot, Amazon, craft stores
Problems:
- Thinner material (2-4 mil) that shows imperfections
- Inferior adhesive that fails in 1-3 years
- Limited pattern selection (mostly solid colors)
- No heat resistance — fails near stovetops
- Visible seams and edges
Verdict: Acceptable for temporary projects or practice, but don't expect longevity.
Architectural-Grade Vinyl ($15-40/yard)
Brands: 3M DI-NOC, BODAQ Interior Film, Avery Dennison
Advantages:
- Thicker material (4-8 mil) hides minor surface imperfections
- Commercial-grade adhesive engineered for 10+ year performance
- 500+ patterns including realistic wood grain, metal, stone textures
- Heat-resistant options for areas near appliances
- Air-release channels for bubble-free application
Verdict: This is what professionals use. If you're committed to DIY, invest in proper materials.
Where to Buy Architectural Film in Toronto
Professional-grade vinyl isn't sold at retail stores. Sources include:
- Specialty sign supply stores
- Commercial wrap suppliers
- Direct from distributors (usually require business accounts)
Expect to pay $300-800 for enough material to wrap a typical kitchen.

Common DIY Failures (and Why They Happen)
We've rewrapped hundreds of failed DIY jobs. Here are the patterns:
1. Edge Lifting (60% of failures)
What happens: Edges start lifting within 3-18 months, starting at corners and spreading.
Why:
- Consumer vinyl has weak edge adhesion
- Insufficient heat during edge wrapping
- Edges cut too close to the edge (no wrap-around)
- Surface contamination at edges
Prevention: Use architectural vinyl, apply adequate heat, wrap edges underneath the door (not flush), and obsess over surface prep.
2. Bubbling and Wrinkles (25% of failures)
What happens: Air pockets appear after installation, often weeks or months later.
Why:
- Trapped air during application
- Surface contamination (oils, dust)
- Temperature changes causing adhesive failure
- Low-quality vinyl without air-release channels
Prevention: Architectural films have air-release technology. Thorough surface prep. Proper squeegee technique from center outward.
3. Misaligned Patterns (10% of failures)
What happens: Wood grain patterns don't align between doors, or cuts reveal mismatched areas.
Why:
- Not planning pattern direction before cutting
- Insufficient material to match patterns
- Rushed cutting without dry-fitting
Prevention: Plan your layout beforehand. Order extra material for pattern matching. Dry-fit everything before final application.
4. Heat Damage (5% of failures)
What happens: Vinyl near stove or dishwasher discolors, shrinks, or peels.
Why:
- Standard vinyl used near heat sources
- Adhesive failure from temperature cycling
Prevention: Use heat-resistant vinyl on cabinets adjacent to ovens and dishwashers. Standard vinyl works fine for cabinets away from heat.

The Hidden Time Investment
DIY tutorials show the application process — the fun part. They skip the reality:
Actual DIY Timeline
| Task | Time Required |
|---|---|
| Research and planning | 3-5 hours |
| Shopping for materials/tools | 2-4 hours |
| Surface prep (cleaning, priming) | 4-6 hours |
| Measuring and cutting | 4-6 hours |
| Application (first 5 doors) | 3-5 hours |
| Application (remaining doors) | 6-10 hours |
| Edge finishing and touch-ups | 2-4 hours |
| Total | 24-40 hours |
Spread over weekends, this is 3-5 weekends of work. Most DIYers underestimate by 50% or more.
Professional Timeline
Most kitchens: 1-2 days, completed while you're at work.
The time math is simple: is saving $1,000-1,500 worth 30+ hours of your weekends?

When DIY Makes Sense
Despite everything above, DIY cabinet wrapping can work if:
1. You're doing a single piece or small project
Wrapping one bathroom vanity or a small cabinet is a reasonable learning project. Low stakes, limited material waste.
2. You have relevant experience
If you've done vehicle wrapping, window tinting, or commercial vinyl work, you have transferable skills. The learning curve will be shorter.
3. You're genuinely budget-constrained
If professional wrapping is truly outside your budget and you're willing to invest the time and accept potential imperfect results, DIY can still deliver an improvement.
4. You're comfortable with "good enough"
If minor imperfections won't bother you, DIY can produce functional (if not flawless) results.
5. It's temporary or low-stakes
Rental property upgrade? Basement cabinets? Lower expectations make DIY more viable.
When to Hire a Professional
Hire a professional if:
1. It's your primary kitchen
You'll see these cabinets daily for years. Imperfections compound over time. Professional results are worth the investment for high-visibility spaces.
2. You have thermofoil or laminate cabinets
These surfaces require specific prep and techniques. DIY failure rates are highest on these materials. See: Can You Wrap Thermofoil Cabinets?
3. You value your time
30+ hours of DIY work to save $1,000-1,500 works out to $30-50/hour for your labour. If your time is worth more than that, hire a pro.
4. You want a warranty
Professional installations come with warranties (typically 3-5 years). DIY has no recourse if things fail.
5. You want specific premium finishes
Complex patterns, metallic finishes, and stone textures require experience to install properly. These materials are expensive — mistakes are costly.

Questions to Ask Before Hiring a Pro
Not all cabinet wrapping services are equal. Ask:
1. What materials do you use?
Acceptable answers: 3M DI-NOC, BODAQ Interior Film, or equivalent commercial-grade films. Red flag: vague answers or "premium vinyl."
2. Can I see examples of your work?
Ask for photos of kitchens 1-2 years post-installation. New installations always look good — the test is longevity.
3. What's included in your warranty?
Get specifics: What's covered? How long? What's the process for warranty claims?
4. How do you handle areas near heat sources?
Professional answer: heat-resistant film on cabinets adjacent to ovens and dishwashers. Red flag: no mention of this.
5. What's your timeline?
Professional cabinet wrapping should take 1-2 days for most kitchens. Longer timelines may indicate inefficiency or part-time operations.
Ready to get started? Get your free quote — we'll assess your kitchen and provide transparent pricing.

Frequently Asked Questions
Can I wrap cabinets myself with no experience?
Technically yes, but expect a significant learning curve. Your first few doors will likely have imperfections. Most DIYers waste 20-40% of materials on mistakes. Success requires patience, the right materials, and realistic expectations about the time investment.
How much can I save with DIY cabinet wrapping?
Realistically, $800-1,500 after accounting for materials, tools, wasted material, and your time. The savings are smaller than most tutorials suggest, especially if you value your time or need to redo sections.
What's the hardest part of DIY cabinet wrapping?
Edge wrapping — getting clean, lasting adhesion at corners and edges. This is where most DIY installations fail within 1-2 years. It requires proper technique, adequate heat, and commercial-grade materials.
Is professional cabinet wrapping worth it?
For primary kitchens that you'll see daily: yes. The combination of guaranteed results, professional materials, 1-2 day completion, and warranty coverage typically justifies the cost difference. For low-stakes projects or those with relevant experience, DIY can make sense.
How do I know if my DIY wrap job failed?
Signs of failure include: edge lifting (especially at corners), bubbling under the surface, visible seams or cuts, discoloration near heat sources, or wrinkles that appeared after installation. If you see these within the first year, the installation has issues.
Can I wrap over a failed DIY job?
Sometimes. If the underlying surface is still in good condition, a professional can remove the failed vinyl and install proper material. If the original surface was damaged during removal, repairs may be needed first.
Browse Our Finish Guides
Planning your project? Explore the full range of vinyl wrap finishes available:
- Matte & Solid Colour Wraps
- Wood Grain Wraps
- Stone & Marble Wraps
- Textured Wraps
- High Gloss Wraps
- Metal Finish Wraps
Looking for professional cabinet wrapping in Toronto? We serve Toronto, Scarborough, North York, Etobicoke, Mississauga, Vaughan, Richmond Hill, Markham, Oakville, and the entire GTA. Get your free quote.
Ready to Transform Your Kitchen?
Get an instant quote for your cabinet wrapping project. Upload photos and see your price in 60 seconds.
Get Your Free Quote